Users of the Märklin* system can also switch turnouts with Helvest decoders. In an earlier article we already described how type C turnouts can be operated with the EMW400 module. For type K turnouts this is also possible, but if you want to use the original motors, you can only do this with the more modern 75491 (which was released in 2012).Anwender des Märklin*-Systems können mit Helvest-Decodern auch Weichen schalten. In einem früheren Artikel haben wir bereits beschrieben, wie Weichen vom Typ C mit dem EMW400-Modul betrieben werden können. Für Weichen des Typs K ist dies auch möglich, aber wenn Sie die Originalmotoren verwenden möchten, können Sie dies nur mit dem moderneren 75491 (der 2012 herauskam) tun.
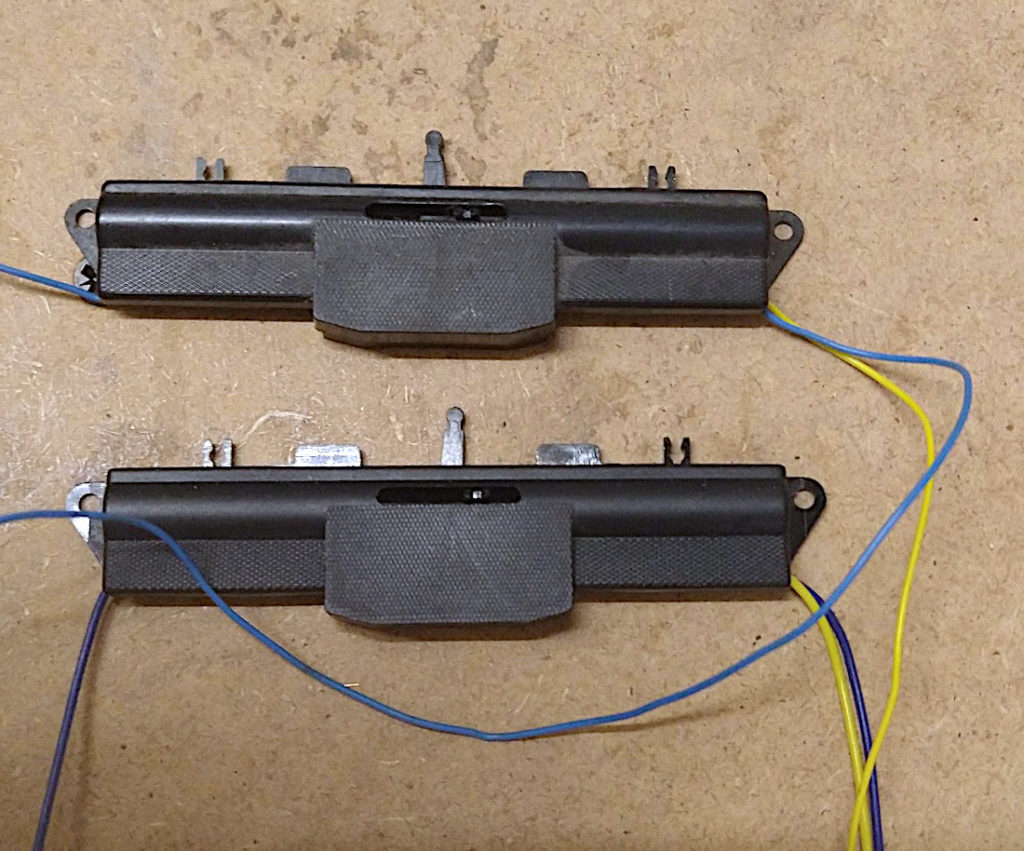
Above: 7549. Below: 75491.
So in summary: Do you move K switches with a 75491 motor? You can use Helvest’s EMW400 modules without hesitation.
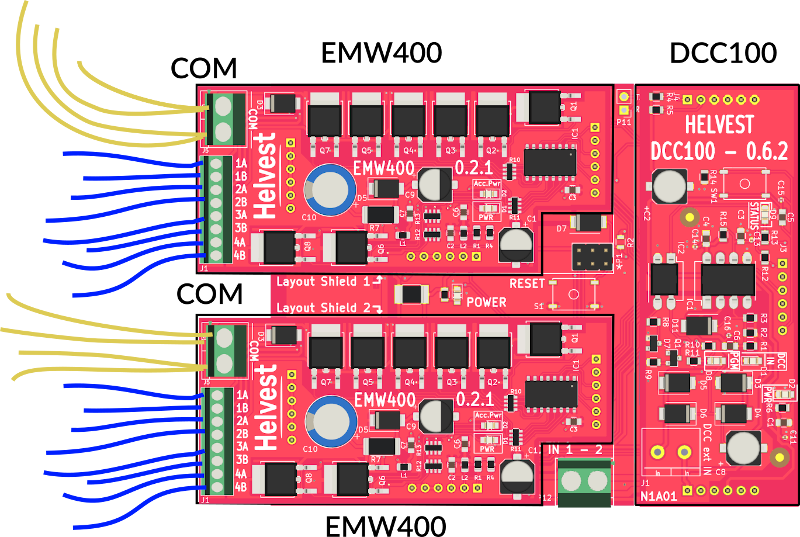
This is how a complete decoder is assembled: 2xEMW400, 1xHP100, 1xDCC100. The yellow wires in the COM port, the blue wires in the different ports numbered 1A… to 4B.
Are you using the older 7549 motor? Currently there are no Helvest modules to drive them digitally.
What is the difference between the two types of Märklin motors?
The K turnout drives (the older 7549 and the more modern 75491) are indistinguishable from the outside (apart from the labelling on the underside), but inside they are different.
The 75491 is suitable for digital operation because it draws less current and works with a DC pulse. The previous unit was designed for analogue operation only. As we have already explained, Helvest prefers not to market “all-purpose decoders” that operate a bit of everything. This would mean that some very strong pulses would have to be given (to be sure that everything is moved), which is not good for the motors and sometimes shortens their life.
Other ways to move Märklin* K turnouts.
Alternatively you can use other types of non-original motors, e.g. to save some money, to mount the motor under the floor or to use slower motors. Here is a suggestion on how to do this:
The lever for manual movement that comes with the switch needs to be worked out. If you have an underfloor mounting kit 7548, you can simplify the work and use the pin provided.
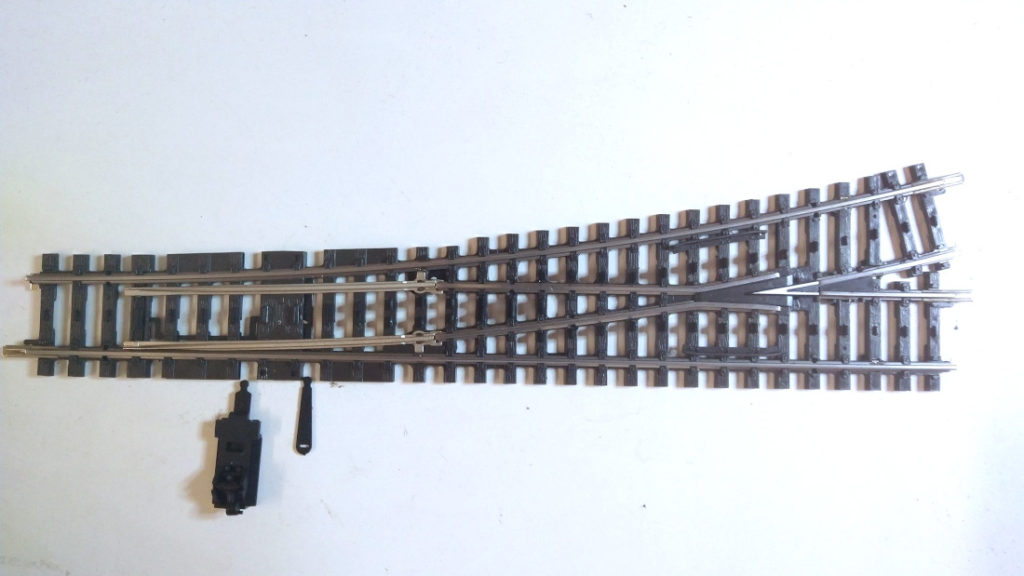
On left, the lever to be worked out. On the right, the tip from the kit 7548.

In the photo, the red arrow indicates where the pin should go.
If you have the lever, remove the moving part from the top. (it is snapped in place, just pull it). Turn the part over and make two cuts from below with a cutter in the guide shown in the picture:
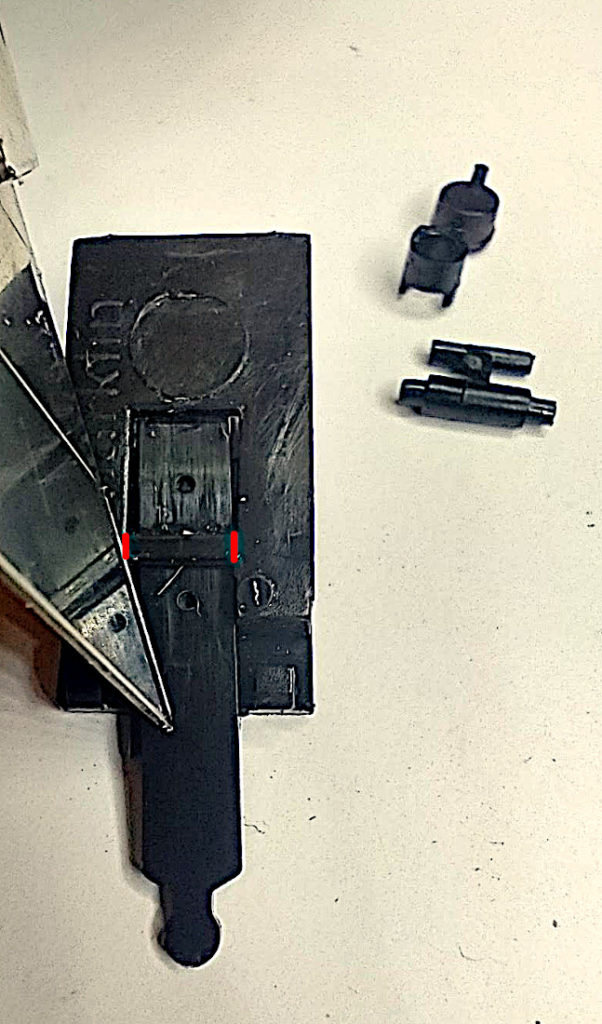
the two cuts should be made along the red lines.
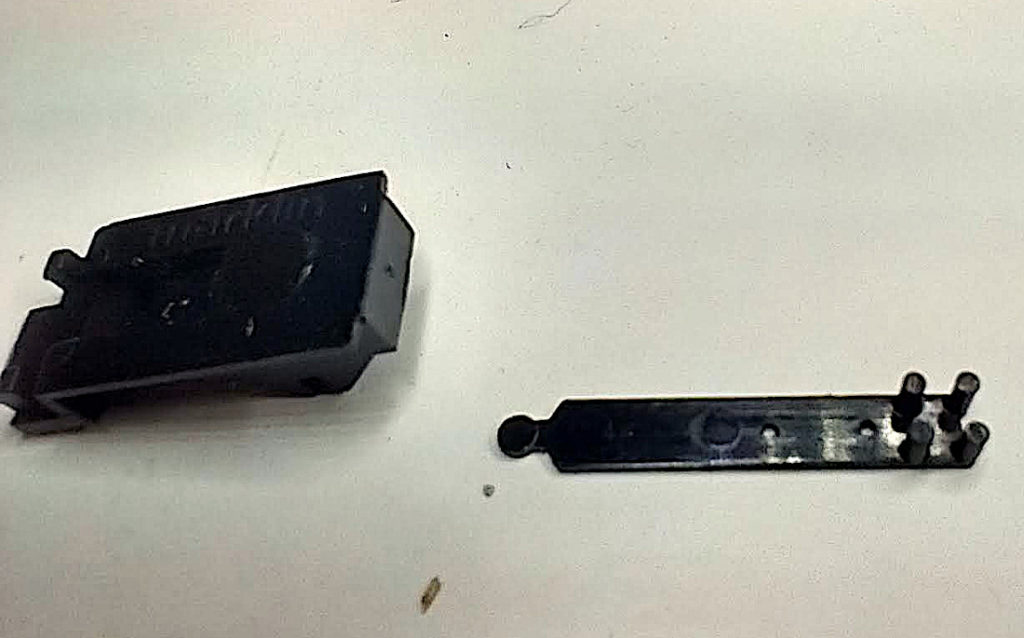
In this way, the pin can be easily pulled out from the top.
To make them less visible, you can file off the four plastic clips that are no longer needed and slide the pin into the turnout.
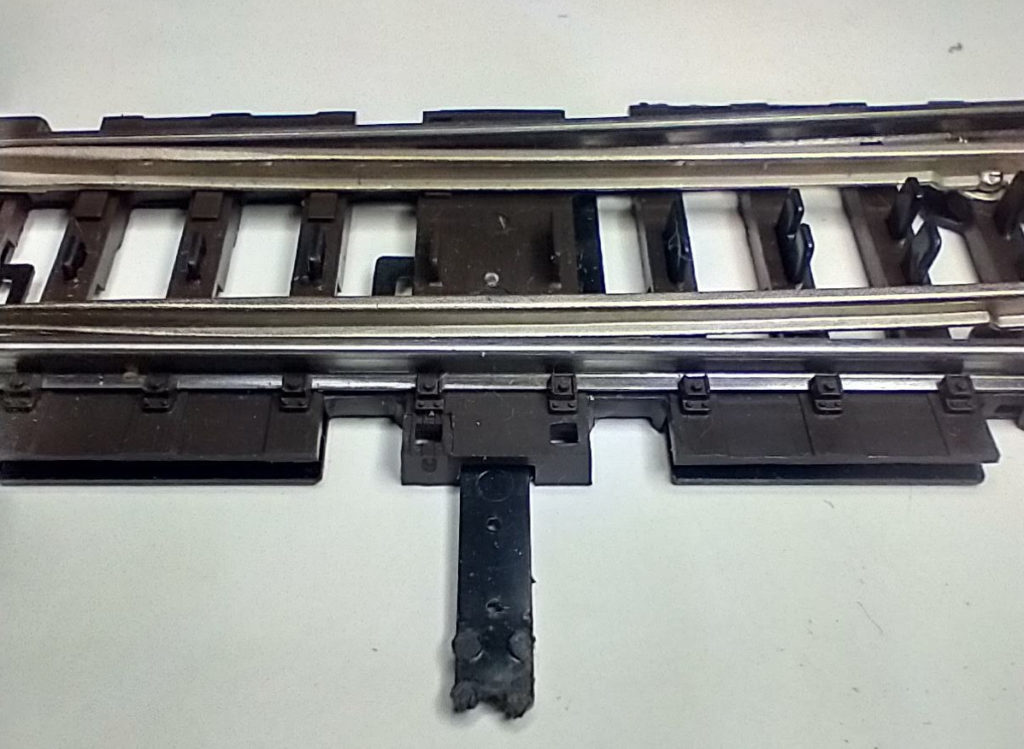
It’s done!
The pin already has two small holes, about 0.7 mm. Drill a hole in the rail floor and put the rod that you will connect to the motor under the floor. If the holes are too narrow, you can enlarge them with a 1-1.5 mm drill bit.
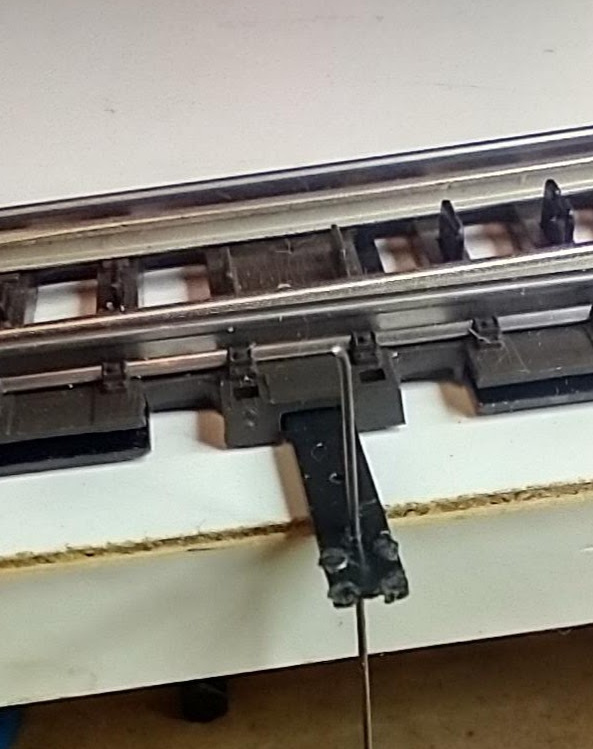
You can mount your favourite motor under the layout plane.
With this solution you can use any motor, e.g. a servo or slow speed, and take advantage of the wide range of Helvest modules to move it.
* Names marked with an asterisk are trademarks of third parties and belong to their respective owners.