Product selection tutorial

Assembling a DCC decoder with Helvest products is very simple. Simply choose the necessary modules and insert them into the connectors.

For now, the available modules allow you to compose DCC decoders with different functions. Other modules with new functions will gradually be put on the market.

What do you need to assemble the DCC decoder?

1) HP100 motherboard
2) DCC100 module

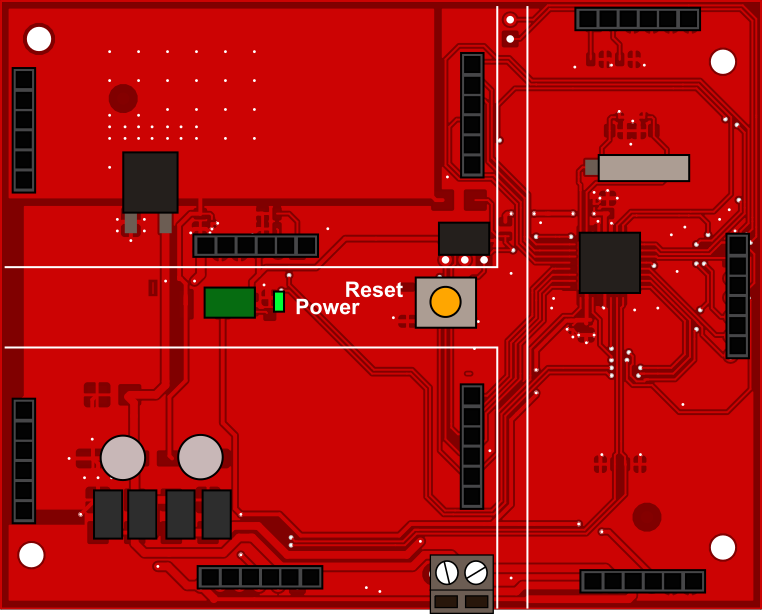
These two pieces (HP100 and DCC100) are required for any configuration.
You must then add one or two “layout” modules of your choice.
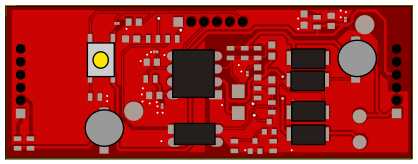
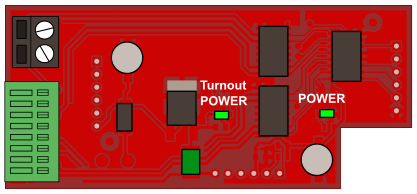
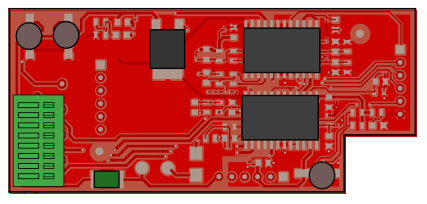
3) Layout modules

On an HP100 board, you can insert only one Layout Module, or two identical modules, or two different modules. The wide versatility allows you to adapt to what you want to drive.
With two Layout Modules you can, for example, drive up to 8 different switches, or 4 switches and 4 signals. If you have fewer devices, you can drive only four using one module and save money.
The available modules are:

ES400

This module can drive up to:

  • 4 signals with red/green lights;
  • 2 signals with red/green/yellow lights;
  • 4 12V on/off lights;
  • 4 12V on/off motors (like a water pump, various animations, etc.)

GAW400

This module can drive up to 4 turnout motors “with 3 wires”, i.e. with common anode and driven by a 12V DC current. Some examples are:

  • “MTB”* MP1
  • “MTB”* MP5


UPW400

This module can drive up to 4 turnout motors ”with two wires”, i.e. with polarity inversion. Some examples are:

  • “Conrad”* motors
  • “Fulgurex”* motors
  • “MTB”* MP5
  • “Tortoise”* and “Cobalt”* motors

* The names marked with an asterisk are trademarks of third parties and are the property of their respective owners

Is everything clear?


Are you looking for the user manuals?


You need help choosing? Let our configurator assist you

Did not find your turnouts? Still having doubts?